Dermaplaning at home is a popular skincare treatment that promises to enhance your complexion by removing dead skin cells and peach fuzz. This method not only helps in achieving a smoother skin surface but also boosts the effectiveness of your skincare products. In this comprehensive guide, we will explore everything you need to know about dermaplaning at home, including its benefits, techniques, and essential care tips. With the right approach, you can achieve salon-like results in the comfort of your home.
As the beauty industry continues to evolve, more people are opting for at-home treatments that save time and money. Dermaplaning is one such treatment that has gained popularity for its simplicity and effectiveness. By understanding the proper techniques and precautions, you can ensure a safe and successful dermaplaning session.
This article will delve into the nitty-gritty of dermaplaning at home, covering everything from the tools needed to aftercare. Whether you are a skincare enthusiast or a beginner, this guide will equip you with the knowledge to achieve a glowing complexion. Let's get started!
Table of Contents
- What is Dermaplaning?
- Benefits of Dermaplaning
- Tools Needed for Dermaplaning
- How to Dermaplane at Home
- Aftercare Tips
- Who Should Avoid Dermaplaning?
- Frequently Asked Questions
- Conclusion
What is Dermaplaning?
Dermaplaning is a non-invasive cosmetic procedure that involves the use of a sterile surgical scalpel to gently exfoliate the uppermost layer of dead skin cells and fine vellus hair (peach fuzz) from the face. This process leaves the skin smoother and brighter, creating a more even skin tone.
While dermaplaning is often performed in professional settings, it is increasingly popular to do it at home. With proper care and technique, anyone can achieve remarkable results without the hefty price tag of a spa visit.
Benefits of Dermaplaning
Dermaplaning offers numerous benefits for those looking to enhance their skincare routine:
- Removes dead skin cells, promoting cell turnover.
- Eliminates peach fuzz for a smoother complexion.
- Enhances product absorption, allowing skincare products to penetrate deeper.
- Creates a flawless canvas for makeup application.
- Reduces the appearance of fine lines and wrinkles.
- Improves overall skin texture and tone.
Tools Needed for Dermaplaning
Before you begin your dermaplaning session at home, gather the following tools:
- Surgical Scalpel: A sterile, single-use dermaplaning blade.
- Alcohol Wipes: For sanitizing your tools and skin.
- Gentle Cleanser: To cleanse your face before the procedure.
- Moisturizer: To hydrate your skin after dermaplaning.
- Mirror: A well-lit mirror for better visibility during the process.
How to Dermaplane at Home
Follow these steps for a safe and effective dermaplaning session at home:
Step 1: Prepare Your Skin
Start by cleansing your face with a gentle cleanser to remove any makeup, dirt, and oil. Pat your skin dry with a clean towel. Ensure your skin is completely dry before proceeding.
Step 2: Sanitize Your Tools
Use alcohol wipes to sanitize the surgical scalpel and any other tools you will be using during the process. This step is crucial to prevent any infections.
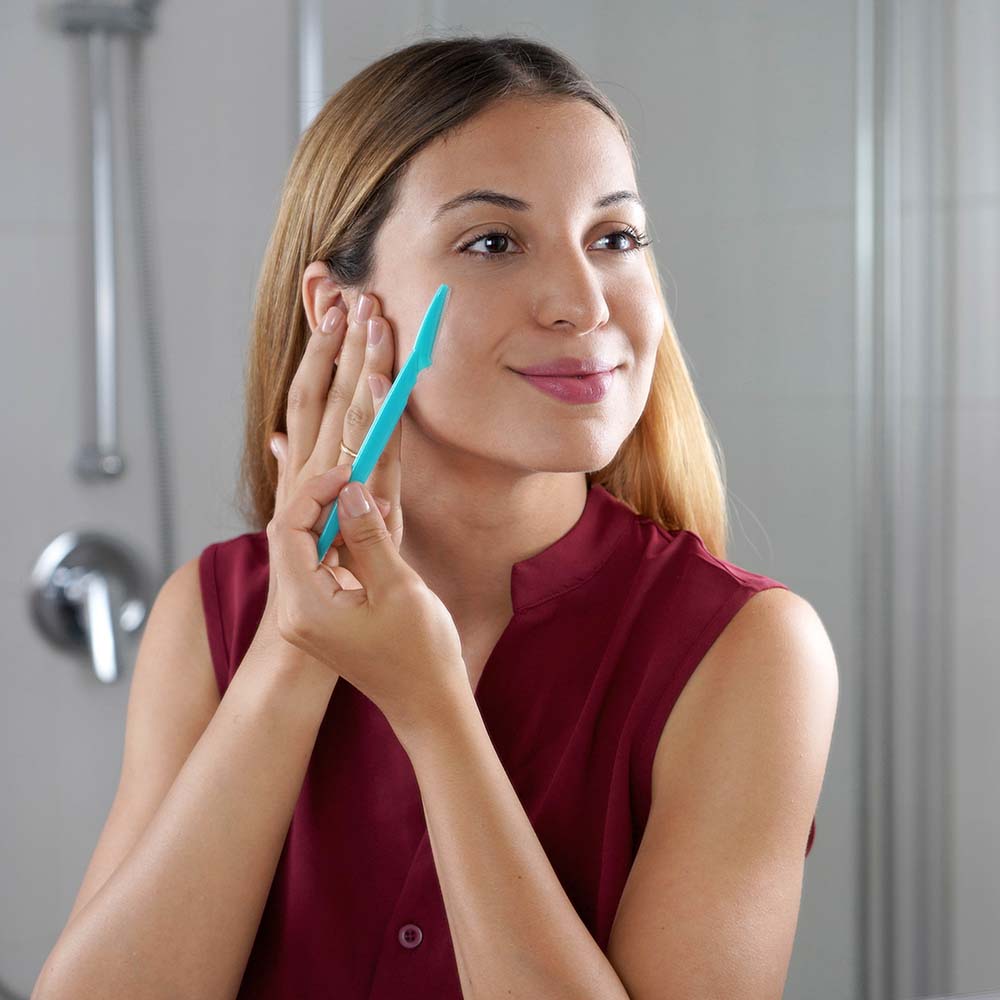
Step 3: Find the Right Angle
Hold the scalpel at a 45-degree angle to your skin. This angle allows for effective exfoliation without causing irritation.
Step 4: Begin Dermaplaning
Gently glide the scalpel across your skin, using short strokes. Start from the forehead and work your way down to your cheeks, chin, and neck. Be careful around sensitive areas, such as the nose and jawline.
Step 5: Finish and Clean Up
Once you've completed the dermaplaning process, dispose of the scalpel safely. Rinse your face with cool water and apply a soothing moisturizer to hydrate your skin.
Aftercare Tips
Proper aftercare is essential for maintaining the results of your dermaplaning session:
- Avoid direct sunlight for at least 24 hours post-treatment.
- Use a broad-spectrum sunscreen to protect your skin.
- Stay away from harsh exfoliants or scrubs for a few days.
- Moisturize regularly to keep your skin hydrated.
- Do not apply makeup for at least 24 hours to allow your skin to breathe.
Who Should Avoid Dermaplaning?
While dermaplaning is suitable for many skin types, certain individuals should avoid this treatment:
- Those with active acne or inflamed skin.
- Individuals with sensitive skin or skin conditions such as eczema or rosacea.
- Those who have recently undergone chemical peels or laser treatments.
Frequently Asked Questions
Here are some common questions about dermaplaning at home:
- How often can I dermaplane at home? It is recommended to dermaplane every 3-4 weeks.
- Is dermaplaning painful? When done correctly, dermaplaning should not cause pain, just a slight tingling sensation.
- Can I use a regular razor for dermaplaning? No, it is best to use a surgical scalpel designed for dermaplaning to achieve optimal results.
Conclusion
Dermaplaning at home can be a game-changer for your skincare routine, offering a simple yet effective way to achieve smoother, brighter skin. By following the proper techniques and aftercare tips, you can enjoy salon-like results in the comfort of your home. Remember to prioritize safety and sanitation to ensure the best outcome.
If you found this article helpful, please leave a comment below and share it with friends who might be interested in dermaplaning. For more skincare tips and tricks, don't hesitate to explore our other articles!
Thank you for reading, and we hope to see you back soon for more insightful content!